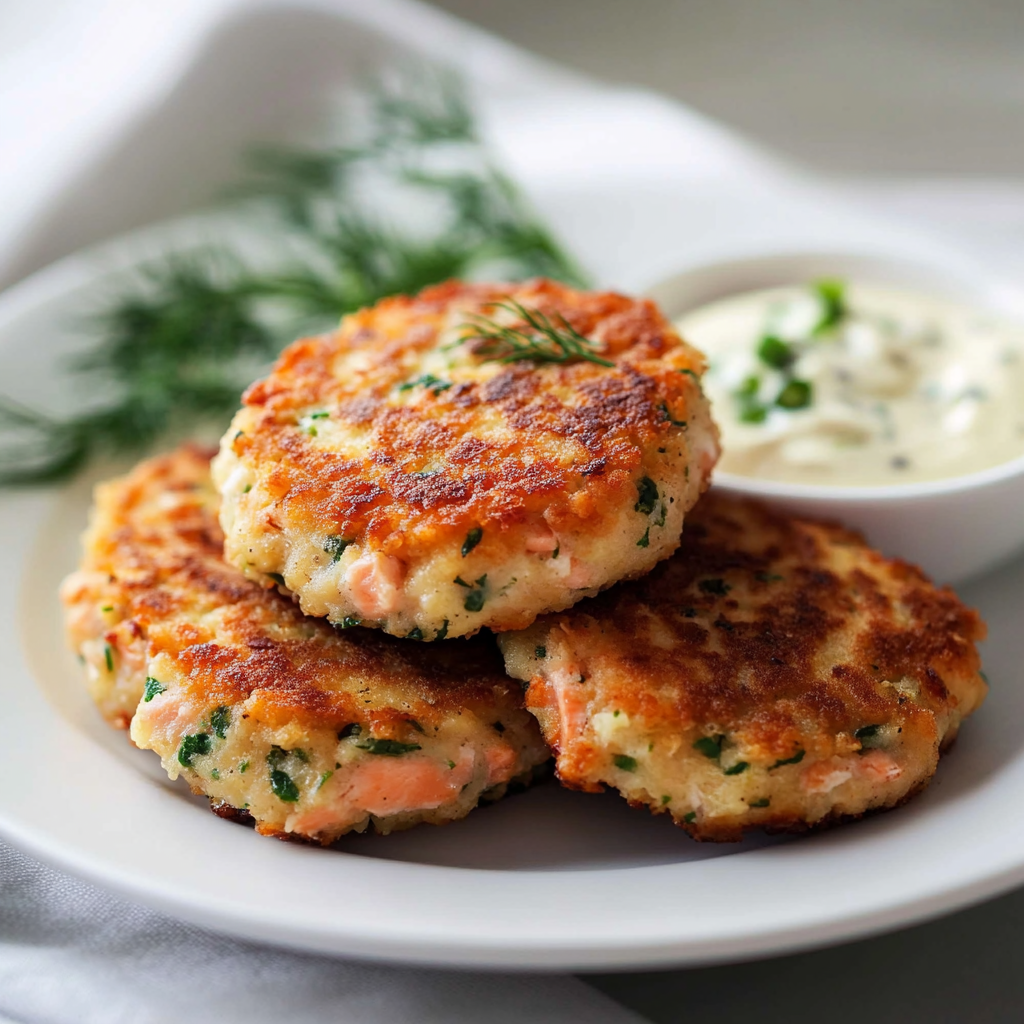
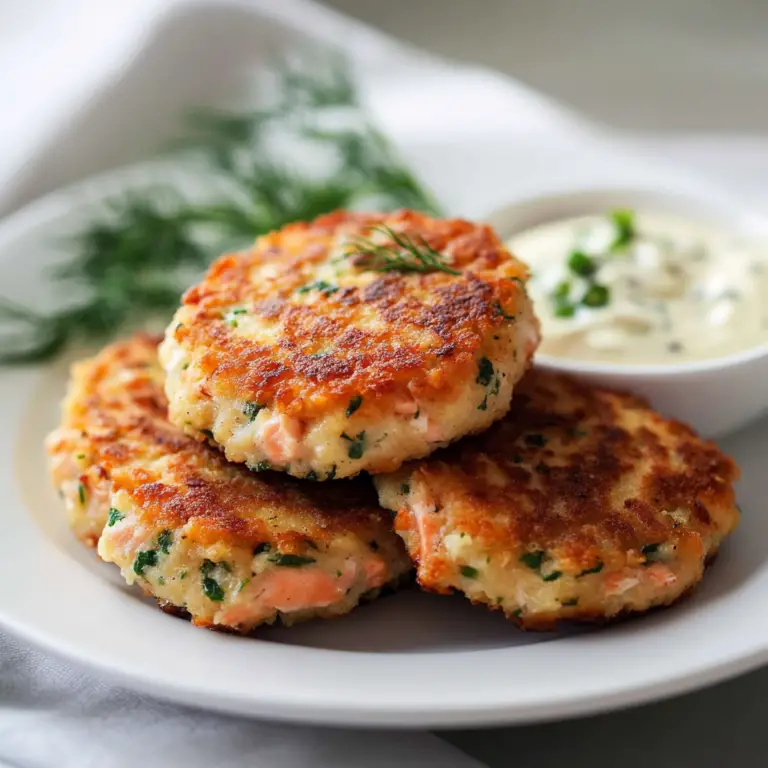
The aroma of crispy golden-brown salmon cakes fills the air as they sizzle in the pan, tantalizing your taste buds before you even take a bite. Imagine that first crunch followed by the tender, flavorful filling—it’s like a cozy hug from your favorite dish. These delightful bites are not just food; they’re an experience that brings joy and satisfaction to any occasion.

I vividly remember the first time I introduced these scrumptious morsels to my family. Picture me standing in the kitchen, apron on and armed with a can of salmon, ready to unleash my culinary magic. Little did I know that these simple salmon cakes would become a beloved family tradition!
Why You'll Love This Recipe
- These delicious salmon cakes are incredibly easy to prepare and will impress everyone at your dinner table
- The blend of flavors offers a delightful twist on traditional seafood dishes while being versatile enough for various meals
- Their golden crust and vibrant colors make them visually captivating and perfect for entertaining guests or enjoying a quiet night in
I whipped up these salmon cakes during a family gathering, and let me tell you—the smiles were priceless!

Essential Ingredients
Here’s what you’ll need to make this delicious dish:
- Canned Salmon: Choose wild-caught if possible; it adds rich flavor and is generally more sustainable.
- Breadcrumbs: Use plain or seasoned breadcrumbs for added texture; panko works great for extra crunch.
- Eggs: One or two large eggs help bind everything together; choose fresh eggs for the best flavor.
- Green Onions: Chopped finely, they add a fresh kick; feel free to substitute with shallots if desired.
- Lemon Juice: Freshly squeezed lemon juice brightens the flavors beautifully; bottled juice is a last resort.
- Old Bay Seasoning: This classic seafood seasoning gives an authentic taste; you can adjust based on preference.
- Cooking Oil: Use vegetable or olive oil for frying; both yield a lovely golden-brown crust.
The full ingredients list, including measurements, is provided in the recipe card directly below.
Let’s Make It Together
Prepare Your Ingredients: Start by draining the canned salmon thoroughly and flaking it into a mixing bowl. Gather all other ingredients nearby to streamline the process.
Mixing Time!: In that mixing bowl with flaked salmon, add breadcrumbs, eggs, chopped green onions, lemon juice, and Old Bay seasoning. Stir until well combined—your hands are your best tools here!
Sculpting Salmon Patties: Form small patties about 2-3 inches wide from the mixture. Remember not to overwork them; light hands create fluffy textures that everyone will love.
Heat Up That Pan!: Heat oil in a skillet over medium heat until shimmering but not smoking. You want it hot enough for sizzling goodness without burning your creations.
Cook Until Golden Brown: Place patties carefully into the hot oil, cooking each side for about 4-5 minutes until they achieve golden-brown perfection. Don’t rush this step—patience yields crispy delights!
Serve & Enjoy!: Once cooked through, transfer your beautiful patties onto paper towels to absorb excess oil. Serve them warm with tartar sauce or your favorite dip—they’re sure to be a hit!
Now that we’ve mastered making these scrumptious salmon cakes with canned salmon together, it’s time to dig in! Whether you’re serving them at a fancy gathering or just enjoying them on a cozy weeknight at home, they never disappoint!
You Must Know
- Salmon cakes with canned salmon are a quick, budget-friendly meal that packs protein and flavor
- They’re a delightful way to use pantry staples while providing a satisfying crunch with every bite
- These cakes are perfect for lunch or dinner, and they can transform leftovers into something extraordinary
Perfecting the Cooking Process
Start by mixing your ingredients thoroughly before shaping them into patties. Sear the cakes in hot oil until golden brown, flipping carefully to maintain their shape. This method ensures they cook evenly, creating that crispy outer layer we all crave.

Add Your Touch
Feel free to swap canned salmon for tuna or add fresh herbs like dill and parsley for an extra zing. You could even mix in some cheese or diced veggies for added texture and flavor. Personalizing these cakes makes them uniquely yours!
Storing & Reheating
Store leftover salmon cakes in an airtight container in the refrigerator for up to three days. To reheat, place them in a hot skillet or oven until warmed through, keeping that crispy exterior intact for the ultimate enjoyment.
Chef's Helpful Tips
- For delicious salmon cakes with canned salmon, ensure your mixture isn’t too wet; this helps them hold together well during cooking
- Use breadcrumbs instead of flour for added crunch and flavor
- Always taste your mixture before cooking to adjust seasoning as needed!
Cooking salmon cakes reminds me of my first time whipping up dinner for friends; their delighted expressions made it worth every moment spent in the kitchen.

FAQ
How do I keep my salmon cakes from falling apart?
Make sure to bind the mixture well with breadcrumbs and allow time to chill before cooking.
Can I freeze salmon cakes after cooking?
Yes! Cooked salmon cakes freeze well; just thaw and reheat when ready to eat.
What should I serve with salmon cakes?
Pair them with a fresh salad or tangy dipping sauce to enhance their flavor profile.

Easy and Delicious Salmon Cakes with Canned Salmon
Enjoy the delightful crunch of easy salmon cakes made with canned salmon—perfect for quick dinners or snacks that everyone will love.
- Total Time: 25 minutes
- Yield: Serves 4 (approximately 4 patties) 1x
Ingredients
- 1 can (14.75 oz) canned salmon, drained and flaked
- 1 cup plain or panko breadcrumbs
- 1 large egg
- 2 green onions, chopped
- 2 tablespoons lemon juice
- 1 teaspoon Old Bay seasoning
- Cooking oil for frying
Instructions
- In a mixing bowl, combine flaked canned salmon, breadcrumbs, egg, green onions, lemon juice, and Old Bay seasoning. Mix well with your hands.
- Form small patties about 2-3 inches wide from the mixture.
- Heat oil in a skillet over medium heat until shimmering.
- Cook patties for 4-5 minutes on each side until golden brown.
- Transfer to paper towels to drain excess oil and serve warm with your favorite dip.
- Prep Time: 10 minutes
- Cook Time: 15 minutes
- Category: Appetizer
- Method: Frying
- Cuisine: Seafood
Nutrition
- Serving Size: 1 serving
- Calories: 150
- Sugar: 0g
- Sodium: 350mg
- Fat: 7g
- Saturated Fat: 1g
- Unsaturated Fat: 5g
- Trans Fat: 0g
- Carbohydrates: 10g
- Fiber: 1g
- Protein: 12g
- Cholesterol: 40mg


